How to read the signs, choose the right moment, and repot without stressing your aroids.
When to Repot Rare Plants (Basic Guide)
Repotting is one of the most misunderstood parts of rare plant care. Beginners often repot too early, too late, or during the wrong part of the plant’s lifecycle — all of which can slow growth, cause shock, or introduce rot. The goal of this guide is to make repotting feel simple, predictable, and stress-free by giving you the exact signs and timings collectors rely on.
Repotting shouldn’t be a routine chore. It should be a strategic decision that lines up with your plant’s rhythm.


Why Repotting Matters
Repotting gives your plant:
– Fresh aeration and oxygen in the root zone
– More stable moisture distribution
– New organic matter for nutrient uptake
– Space for thicker, healthier root systems
– A chance to recover from compacted or tired soil
Rare aroids (Philodendron, Anthurium, Alocasia, Scindapsus) rely heavily on root health for strong leaf production. When roots struggle, leaves shrink, slow down, or yellow — often long before the problem is visible above the soil.
Repotting is the fastest way to reset the plant’s foundation.
When NOT to Repot (The Golden Rule)

Before learning when to repot, you must know when not to do it. Repotting at the wrong time does more harm than good.
Do NOT repot when the plant:
– Just arrived from shipping
– Is in dormancy or seasonal slowdown
– Has no active growth point
– Is severely underwatered
– Has pest infestations (treat pests first)
– Is stressed from recent environmental changes
– Has recently pushed out a leaf that hasn't hardened
Repotting interrupts the root–leaf cycle. If the plant is not ready, it cannot recover efficiently — this is how beginners accidentally cause decline.
The Best Time of Year to Repot
Spring and early summer
This is the ideal season for nearly all rare plants. Growth is accelerating, roots are active, temperatures are warm, and the plant can anchor into its new substrate quickly.
Late summer to early autumn
Acceptable, but recovery may slow as light begins to decrease.
Winter (avoid unless necessary)
Plants drink less, roots sit still, and soil stays wetter — all factors that increase the risk of root rot after repotting.
Repotting is a partnership with the plant’s natural cycle. When it’s ready to grow, it’s ready to repot.
Signs Your Plant Needs a Repot


There are physical, behavioural, and environmental signals that tell you a repot is due.
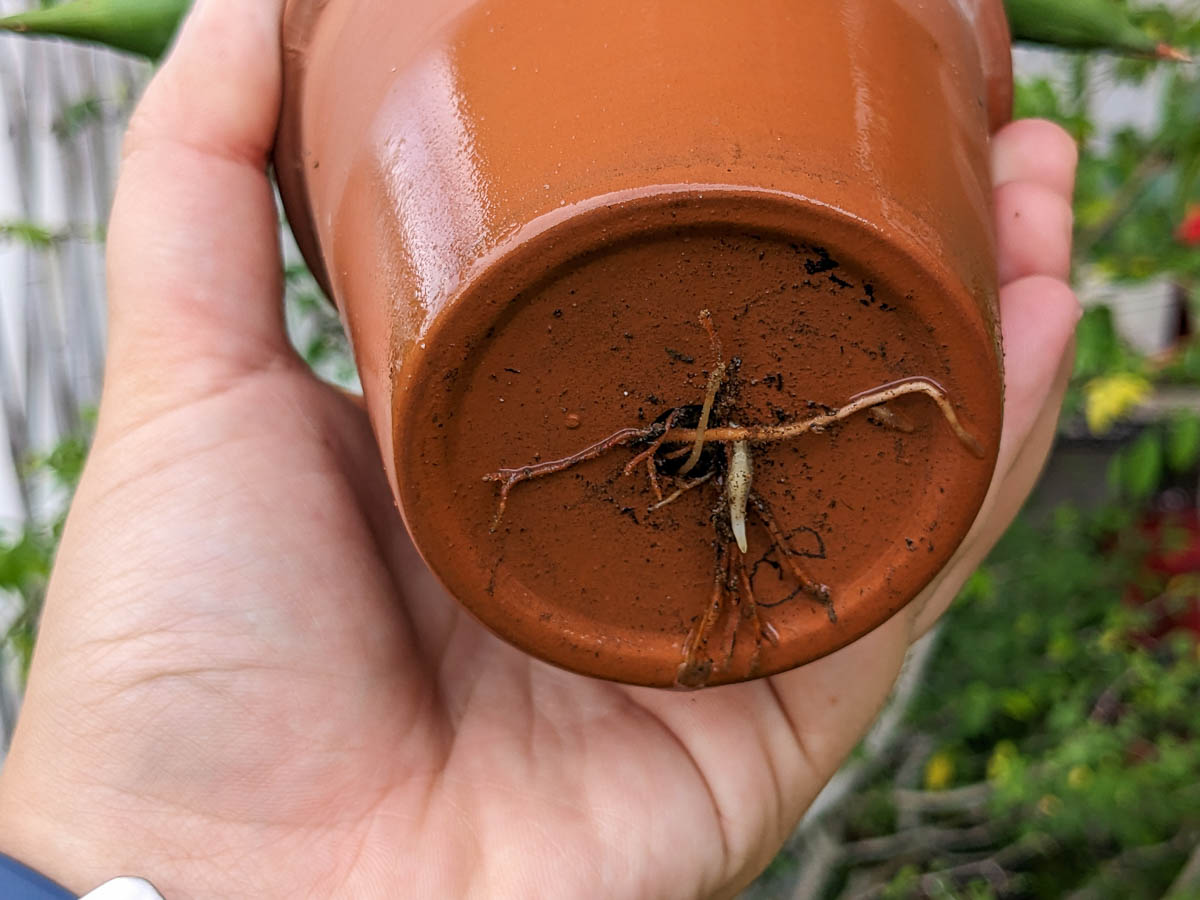
1. Roots escaping the pot
– Roots circling at the base
– Thick roots growing out drainage holes
– Roots laying on the soil surface
When roots physically leave the pot, they’re telling you they’ve run out of room.
2. Soil dries out extremely fast
If the soil dries within 1–2 days and your environment has not changed, the root mass is likely too dense. The plant is drinking faster than the pot can hold moisture.
3. Soil stays wet far too long
This often means:
– Soil has compacted
– Organic matter has broken down
– Aeration has collapsed
Fresh substrate restores oxygen flow and improves drainage.
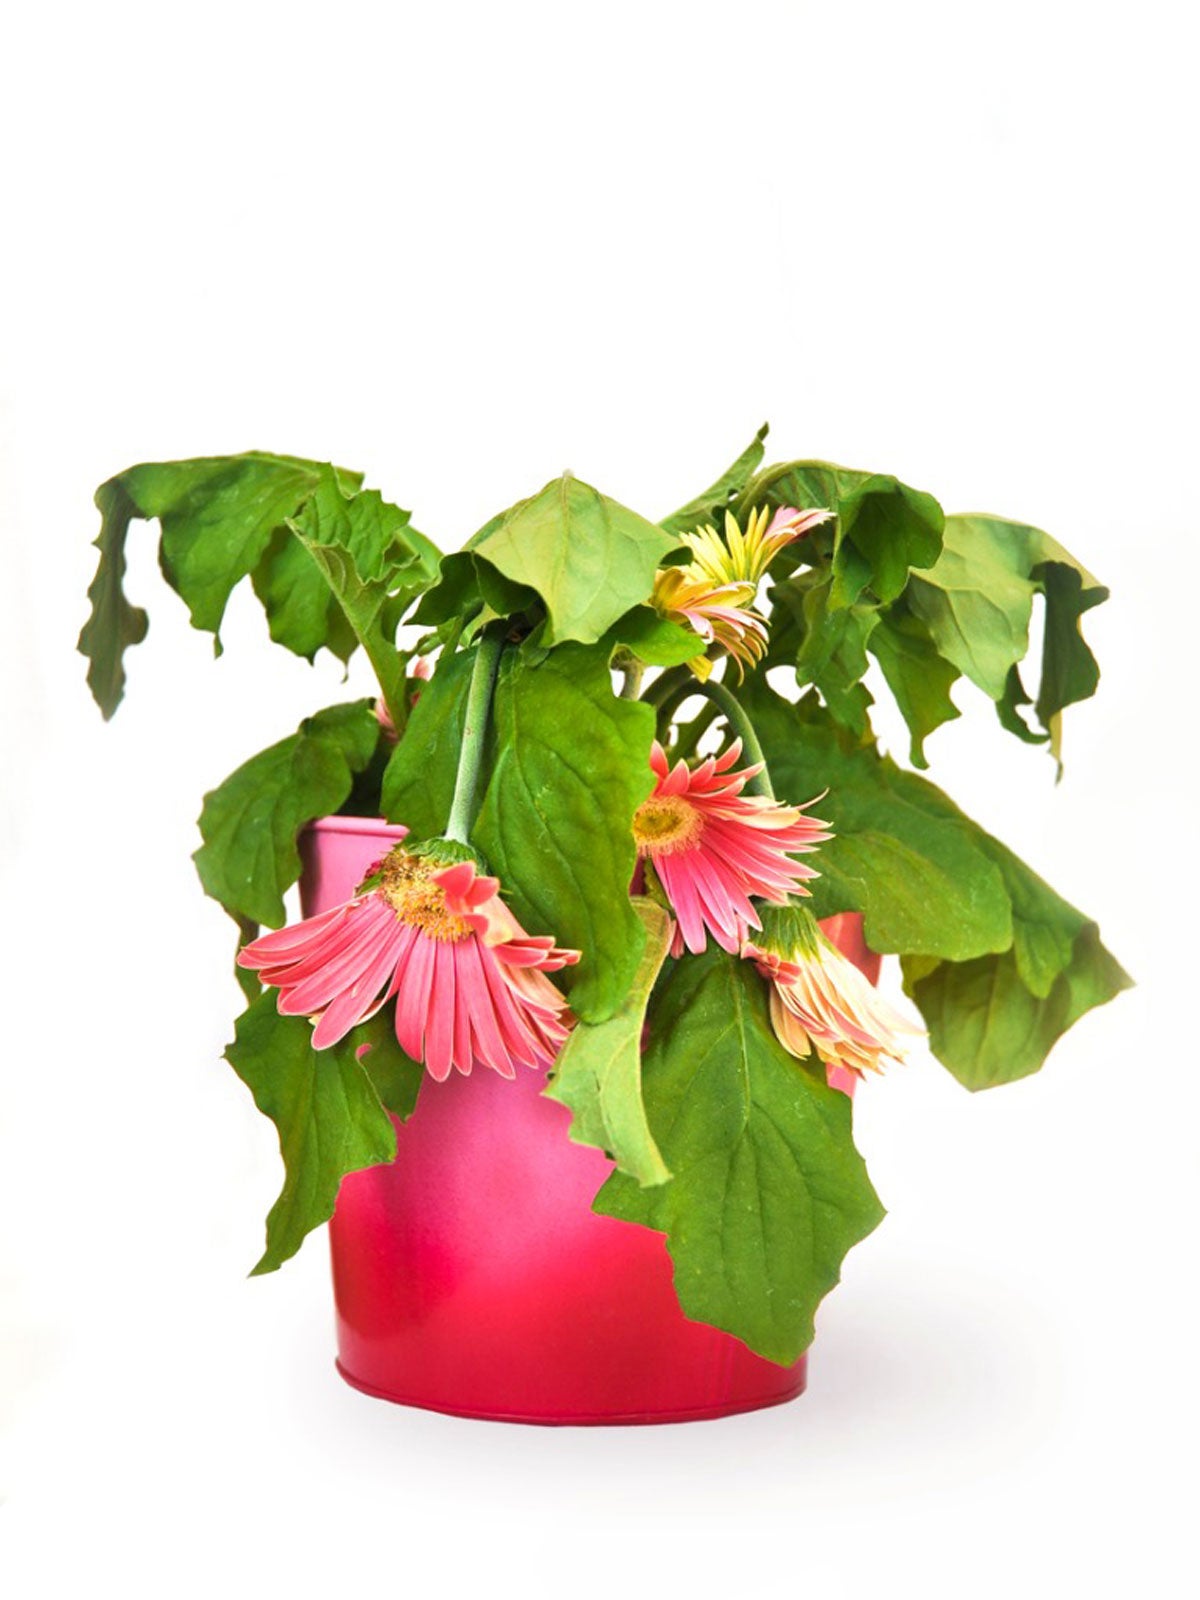
4. Leaves are shrinking in size
Decreasing leaf size across consecutive leaves is one of the clearest indicators of root restriction.
5. The plant becomes top-heavy
Philodendrons spill over. Alocasia tilt. Anthuriums lean.
These behaviours often mean the root system can’t support the upper growth anymore.
6. Salt build-up or soil crust
White or yellow crust on the surface = nutrients, minerals, or hard water residue accumulating. Repotting resets the soil chemistry.
7. Foul smell or sour substrate
A healthy root system does not smell. A sour odour means anaerobic pockets have formed — roots cannot breathe.
8. The plant hasn’t been repotted in 12–18 months
Even if it looks fine, soil quality breaks down over time. A refresh keeps the plant vigorous.
Choosing the Right Pot Size


Repotting is not about giving the plant as much room as possible. Oversizing is one of the biggest beginner mistakes.
Safe sizing rule
– Choose a pot 2–4 cm wider than the current pot
– Or go one pot size up, never two
Why you shouldn’t jump to a big pot
– Soil retains water too long
– Roots can’t fill the space
– Anaerobic pockets form
– Risk of rot increases significantly
Aroids prefer slightly snug pots where roots grow evenly through the mix.
Soil: The Core of a Successful Repot
Quality substrate is far more important than the pot itself. Rare plant roots demand oxygenation, drainage, and even hydration.
Beginner-friendly aroid mix
– 40% premium aroid mix
– 30% perlite
– 20% coco coir
– 10% bark or pumice
Why this works
– Perlite keeps the mix breathable
– Coco coir holds moisture without waterlogging
– Bark provides structure and airflow
– The base mix supports nutrient exchange
If your mix compacts into mud or stays dry on top but wet below, repotting won’t fix the problem — only the right substrate will.
How to Prepare for Repotting

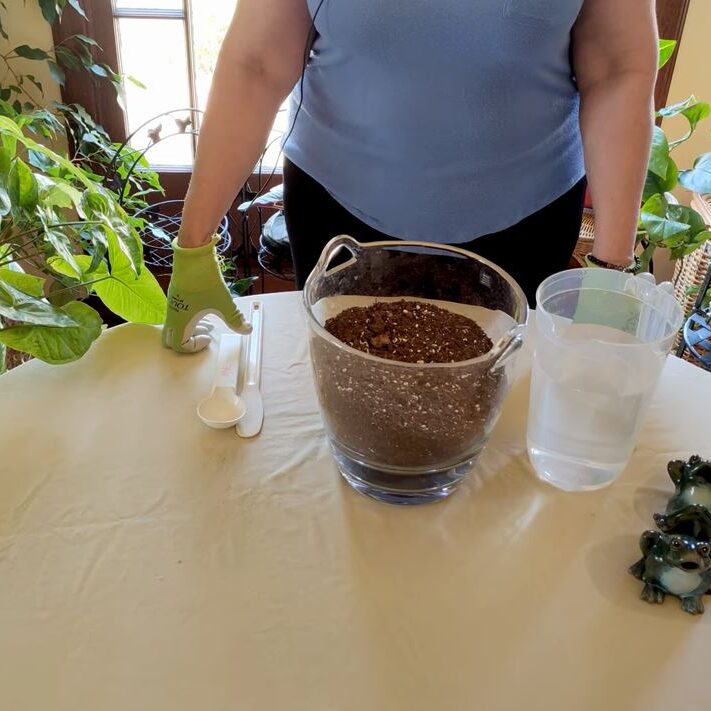

Prepare the environment before touching the plant.
You’ll need:
– Fresh soil
– A slightly larger pot with drainage
– Gloves (optional)
– Scissors or shears (sterilised)
– A catch tray or mat
– Sticky notes or tags if you track repot dates
Make the environment comfortable
– Choose a warm, bright room without drafts
– Avoid late-night repotting when temperatures drop
– Keep water nearby for hydrating the new mix
Repotting is smoother when everything is staged in advance.
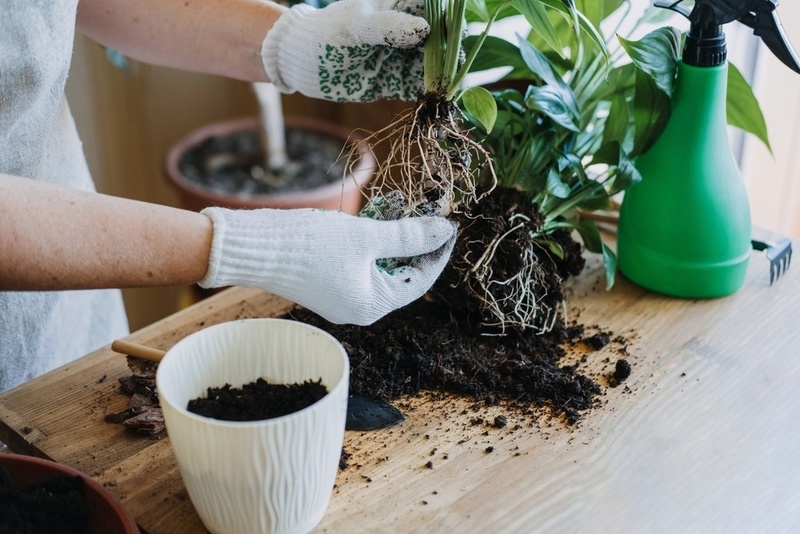
How to Remove the Plant Safely


Step-by-step removal
– Water lightly 24 hours beforehand — moist soil releases easier
– Gently squeeze the pot to loosen the rootball
– Support the plant at the base and lift slowly
– Do not yank the stems
– Allow soil to fall away naturally
Inspect the roots
Healthy roots:
– Are firm
– Range from white to tan
– Have a crisp structure
Unhealthy roots:
– Feel mushy
– Smell sour
– Collapse when pressed
Trim unhealthy sections sterilised between cuts.
How to Repot Without Stressing the Plant
1. Add a thin base layer of soil
This prevents roots from sitting flush against drainage holes.
2. Position the plant at the correct height
The crown should sit level with the top of the soil, not buried. Burying the crown is especially dangerous for Alocasia.
3. Fill around the rootball gently
– Tap the pot to settle soil naturally
– Avoid compacting with force
– Add soil evenly on all sides
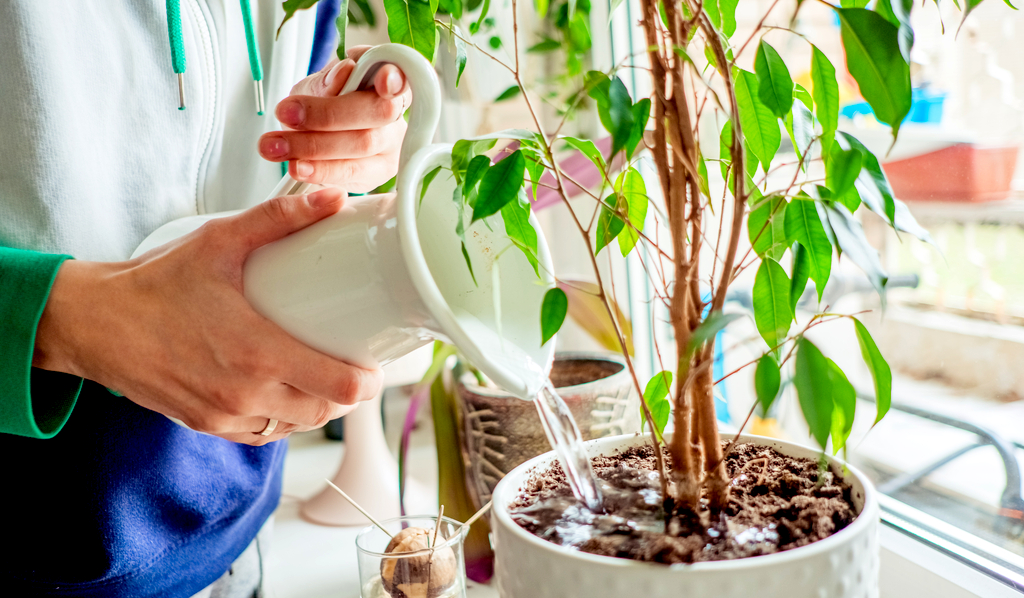
4. Lightly water to settle the mix
This helps the soil conform around roots without suffocating them.
5. Place the plant in bright, indirect light
Repotted plants should avoid full sun for 1–2 weeks.
Aftercare: The First 14 Days

This is the period where your plant stabilises in its new soil.
What to expect
– Temporary drooping
– Slower hydration uptake
– Slight leaf curl (normal)
– No new growth immediately
What to do
– Keep soil slightly moist but never soggy
– Maintain stable humidity (50–65%)
– Avoid fertilising for 3–4 weeks
– Keep temperature warm (20–27°C)
– Do not rotate, move, or adjust the plant unnecessarily
The less disturbance during recovery, the better.
When Repotting Is an Emergency
Only repot out of season if you see:
– Rotten roots
– Sour-smelling soil
– Fungus gnats exploding in the pot
– Blackened or collapsing petioles
– Alocasia crown rot starting
In these cases, repotting is a rescue operation.
Frequently Asked Questions
“Should I wash the roots?”
Only when dealing with rot or pests. Otherwise, leave the rootball as intact as possible.
“Can I repot and propagate at the same time?”
Beginners should avoid doing both at once — it doubles the stress.
“How often should I refresh soil?”
Every 12–18 months for most rare plants.
“Do I need to size up every repot?”
No. Sometimes a full soil refresh in the same pot is enough.
Collector Notes
Repotting is less about pots and more about timing. Once you learn to read your plant’s cues — shrinking leaves, root escape, stale soil, seasonal rhythms — the process becomes straightforward. Repotting at the right moment sets up months of smooth growth, stronger roots, and larger, healthier leaves.
This basic guide prepares beginners for the more advanced topics you can place in paid sections, such as:
– Root pruning
– Using systemic drenches during repot
– Species-specific repot timing (Alocasia vs. Anthurium vs. Philodendron)
– Switching substrate types