
The simple, stress-free, and essential quarantine system for protecting your exotic collection.
Keeping rare aroids healthy starts long before you add them to your shelves. Proper quarantine protects your entire collection from pests, fungal pathogens, soil hitchhikers, and stress-induced decline. Whether you’ve purchased an Alocasia corm, a Philodendron cutting, or a fully established plant, a 2–4-week quarantine prevents long-term problems and builds trust in your growing space.
Think of this guide as your entry-level quarantine system — simple, effective, and easy enough for total beginners to follow.


Why Quarantine Matters (and Why Collectors Never Skip It)
Even the healthiest-looking plant can carry something invisible:
– Microscopic spider mites
– Fungus gnat larvae in the soil
– Dormant thrips eggs on the undersides of leaves
– Soil-borne fungal spores
– Bacterial issues
– Mealybugs hidden at the nodes
These pests or pathogens may be harmless or contained in a single new plant. But once they spread to your main collection, they can:
– Cause stunted growth across multiple plants
– Spread infections through soil splashes or airflow
– Trigger leaf deformation or decline
– Force expensive treatments
– Set your entire grow space back months
Quarantine is essentially plant insurance — a small effort that saves enormous stress later.
How Long to Quarantine New Plants
The basic rule:
– 14 days minimum for low-risk plants
– 21–28 days for rare species, import plants, or anything showing stress
This time allows you to:
– Monitor for pests that emerge slowly
– Let the plant recover from shipping
– Stabilise hydration before repotting
– Prevent immediate cross-contamination
If you spot pests during this window, the timeline resets after the last confirmed sighting.
The Ideal Quarantine Setup (Simple Version)


You do not need a separate room. You do not need a tent. Quarantine can be extremely basic.
Minimum effective setup
– A separate shelf, table, or corner 1–3 metres away from your main plants
– Consistent bright, indirect light (or a small grow light)
– A tray or mat to catch drainage
– A dedicated spray bottle for cleaning and treatments
– Sticky traps (yellow or blue) placed nearby
– A smartphone flashlight for inspection
Optional (but highly recommended)
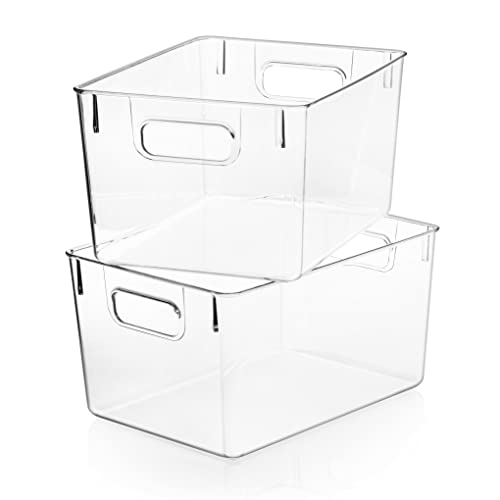
– A clear storage bin or cloche to increase humidity safely
– Disposable gloves
– Alcohol wipes
– A magnifying lens or macro clip for your phone
The goal is not isolation from the world — only isolation from your main grow space.
Day 1: Arrival Inspection (What to Look For)
Your relationship with a new rare plant begins the moment it arrives on your doorstep. The first inspection sets the tone for the entire quarantine process.
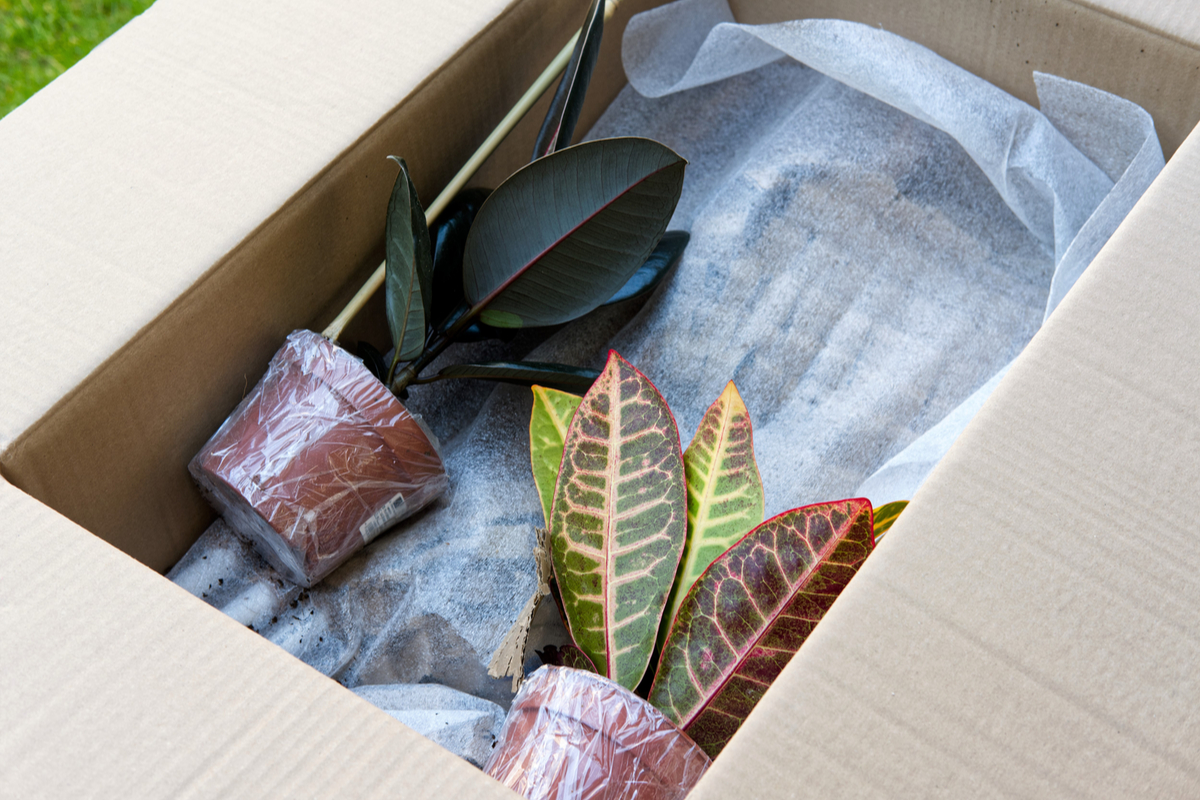


Check the following areas carefully
– Leaf undersides (spider mites, thrips scars, eggs)
– Leaf surfaces (stippling, silvering, trails, speckling)
– Petiole bases (common thrips and mealybug hiding spots)
– Growth point/crown (rot, soft tissue, hidden pests)
– Soil surface (gnats, mould, unusual debris)
– Pot drainage holes (mealybugs, larvae, root health)
What a healthy plant should look like
– Firm petioles
– Hydrated but not mushy leaves
– No sticky residue
– Minimal soil odour
– Even colour across foliage
If the plant feels limp from shipping, this is normal — acclimation comes next.
To Repot or Not to Repot (The Golden Rule)
For beginners, here is the safest approach:
Do not repot immediately unless:
– Soil smells sour or rotten
– You see fungus gnats emerging
– The plant is waterlogged or anaerobic
– The rootball is collapsing or mushy
Otherwise, allow the plant 7–10 days to acclimate to your environment before disturbing the root system. Repotting too soon adds stress to a plant already dealing with:
– Light change
– Humidity change
– Temperature change
– Handling stress
Let the plant breathe, recover, and stabilise first.
The First 7 Days: Daily Monitoring Routine


The first week is observation-heavy. This is where most hidden issues make themselves known.
Daily checklist
– Check the undersides of every leaf with a flashlight
– Look for frass (tiny black droppings), eggs, or movement
– Check petiole bases for white fuzz (mealybugs)
– Inspect soil for fungus gnats or mould
– Evaluate hydration (over/under-watering signs)
– Observe leaf tension — is the plant stabilising?
Common signs to watch for
– Spider mites: fine stippling, dusty webbing, fading leaf colour
– Thrips: silver scars, black specks, elongated bugs
– Fungus gnats: tiny flies around soil surface
– Root issues: drooping despite moist soil
Early detection is everything.
Proactive Prevention: Beginner-Level Treatments
Even if you see no pests, apply one light preventative treatment during quarantine. This is safe and widely practiced by collectors.
Recommended gentle treatments
– Neem oil (diluted properly) for surface-level prevention
– Insecticidal soap for soft-bodied pests
– Isopropyl alcohol (70%) dabbed on mealybugs
– Horticultural oil for mites and thrips suppression
When to treat aggressively
– Eggs present
– Multiple pests visible
– Rapid spreading damage
For beginners, stick to gentle, predictable products and repeat every 7–10 days during quarantine if needed.
Light, Watering & Humidity During Quarantine
Your goal is to create a stable environment so the plant can settle. Avoid extremes.


Light
– Bright, indirect light
– Avoid direct sun on newly shipped plants
– A small grow light is perfectly acceptable
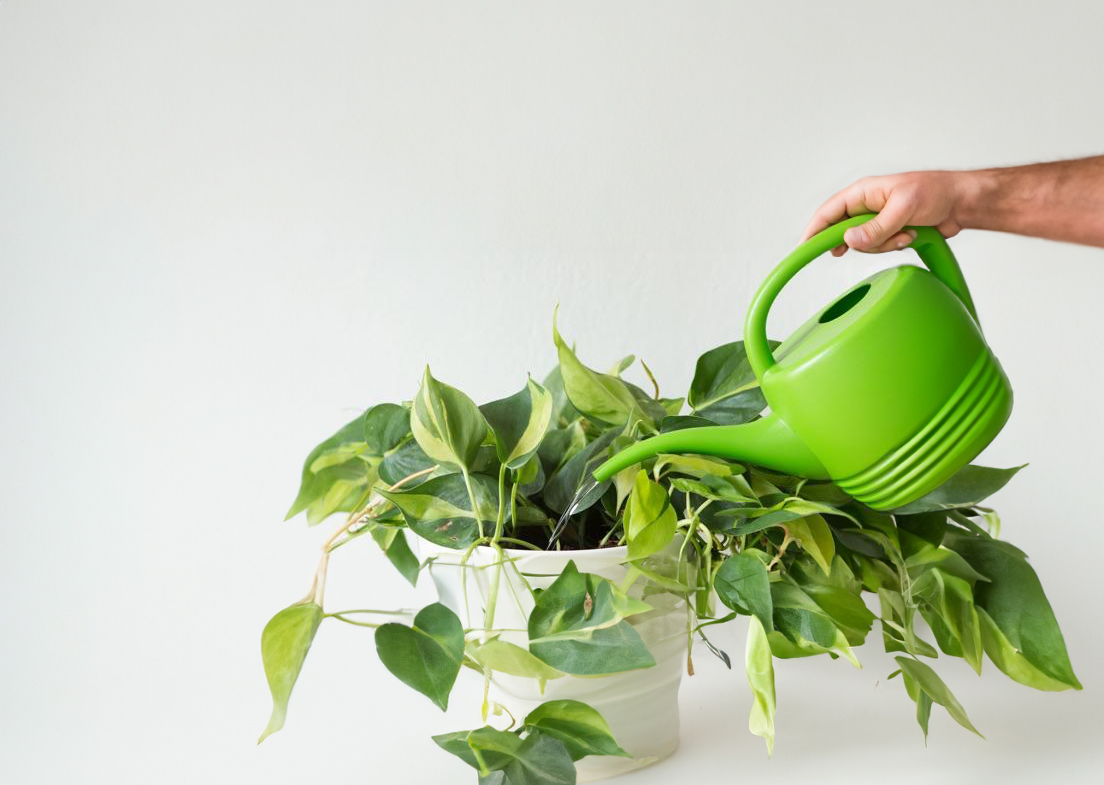
Watering
– Check the soil before watering — shipping soil dries unpredictably
– Water only when the top 40–50% of the mix is dry
– Avoid soaking the plant immediately upon arrival
Humidity
– 55–65% is ideal
– Use a clear bin or cloche if your home is dry
– Increase airflow to prevent fungal issues
Temperature
– Keep between 20–27°C
– Avoid drafts from doors, air-conditioning vents, or heaters
A stable environment encourages rapid recovery.
Sticky Traps: Your Silent Data Collectors
These small yellow (or blue) cards tell you more about your plant’s health than most people realise.
What they detect
– Fungus gnats
– Thrips adults
– Whiteflies
– Other flying pests
If you catch nothing after 10–14 days, you can be more confident that the plant is pest-free.
The Second Week: Building Stability
Around Days 7–14, the plant begins responding to its new environment. The stress period fades, and its metabolic processes stabilise.
What you should see
– Leaves look firmer and more hydrated
– Petioles strengthen
– No new damage appears
– Soil dries at a predictable rate
– Light pest activity (if any) reduces
Continue the routine
– Inspect leaves every 2–3 days
– Keep the plant separate
– Replace sticky traps as needed
– Avoid fertilising for at least 3 weeks
You want the plant to focus on root health, not pushing rapid growth yet.
Repotting During Quarantine (When Needed)


Safe timing
– After 7–14 days of stability
– No new pests detected
– Soil has dried and rehydrated predictably
– The plant shows a firm, stable posture
Why repot during quarantine (not after)
– You can watch the plant closely after repotting
– Soil-borne pests are easier to catch early
– Stress recovery is easier to monitor
– Repotting won’t risk your whole collection
Beginner soil mix suggestion
– 40% aroid mix
– 30% perlite
– 20% coco coir
– 10% bark/pumice
The goal is breathability and even hydration.
When to Extend Quarantine
Reset the quarantine clock if you observe:
– Thrips
– Spider mites
– Mealybugs
– Root rot
– Sudden leaf collapse
– Fresh injury
– Sticky residue on leaves
– Noticeable eggs under foliage
Extend quarantine to 21–28 days for safety.
Completing Quarantine: The “All Clear” Checklist
Before reintroducing the plant to your main collection, confirm:
No pests seen for 14 consecutive days
No new damage appearing on leaves
New growth forming or plant showing stability
Sticky traps remain clear
Soil behaves correctly when watered
Plant has acclimated to your environment
If all boxes are checked, the plant is ready for its new home.
How to Integrate the Plant Into Your Collection
Reintroduction should be gradual and intentional.


Steps
– Place the plant near, but not touching, other plants
– Monitor it for another week
– Slowly move it into its final position
– Resume normal fertilising after 3–4 weeks total
– Continue checking leaves weekly as part of your regular care routine
You’re not just placing a plant — you’re integrating it into a controlled ecosystem.
Frequently Asked Questions (Beginner Version)
“My plant arrived with yellowing leaves. Is this normal?”
Yes. Shipping stress frequently causes one or two leaves to fade.
“Should I wash the leaves right away?”
Yes — gently. A light rinse removes dust, eggs, and shipping residue.
“Should I trim damaged leaves?”
Only if the damage is severe or the leaf is collapsing. Minor cosmetic damage does not require trimming.
“Why did gnats appear even though the soil looked clean?”
Gnat larvae are microscopic and often invisible. Sticky traps will reveal them quickly.
“Do variegated plants need a different quarantine process?”
No, but they often require closer monitoring because pests prefer softer tissue.
Collector Notes
Quarantine may feel like an extra step, but it quickly becomes one of the most satisfying parts of plant collecting. It builds confidence. It protects your investment. And it teaches you to read your plants more clearly than almost any other phase of care.
Master this simple beginner quarantine guide, and you’ll be ready for more advanced practices like import acclimation, root sanitising, corm cleaning, and integrated pest management — topics we can expand into your paid guide section whenever you’re ready.