Rare aroids - especially velvet-leaf Alocasia, Anthurium, Philodendron, and many jewel species grow in naturally humid understories. But you don’t need a greenhouse or expensive gadgets to recreate that. What your plants truly need is humidity scaffolding: a stable, supportive structure of micro-climate habits that keeps moisture levels consistent without drowning your living spaces in mist.
Humidity scaffolding is the simple system collectors use to keep their plants hydrated, breathing, and resilient year-round. This basic guide breaks it down into a method anyone can follow.


What Is “Humidity Scaffolding”?
Instead of chasing a perfect number on your hygrometer, humidity scaffolding focuses on creating stacked layers of humidity support that work together:
– Ambient humidity
– Localised humidity around each plant
– Moisture-retentive soil
– Airflow balancing
– Passive humidity boosters
– Active humidification (only when needed)
Most beginners rely on a single humidifier and then panic when numbers fluctuate. Collectors build systems, not single solutions. The goal isn’t hitting 70% every hour — it’s giving your plants a stable, predictable hydration environment.
Why Humidity Matters for Rare Species
Humidity affects nearly every biological process inside aroid leaves:
– Transpiration rhythm
– Leaf expansion and firmness
– Stomatal opening
– Water efficiency
– Pest resistance
– Tissue thickness
Velvet-leaf species especially rely on moisture to prevent:
– Crisping edges
– Weak petioles
– Misshapen new leaves
– Slow growth
– Persistent spider mite risk
Humidity scaffolding reduces these issues without forcing you to live inside a rainforest.
Ideal Humidity Ranges (Beginner Version)

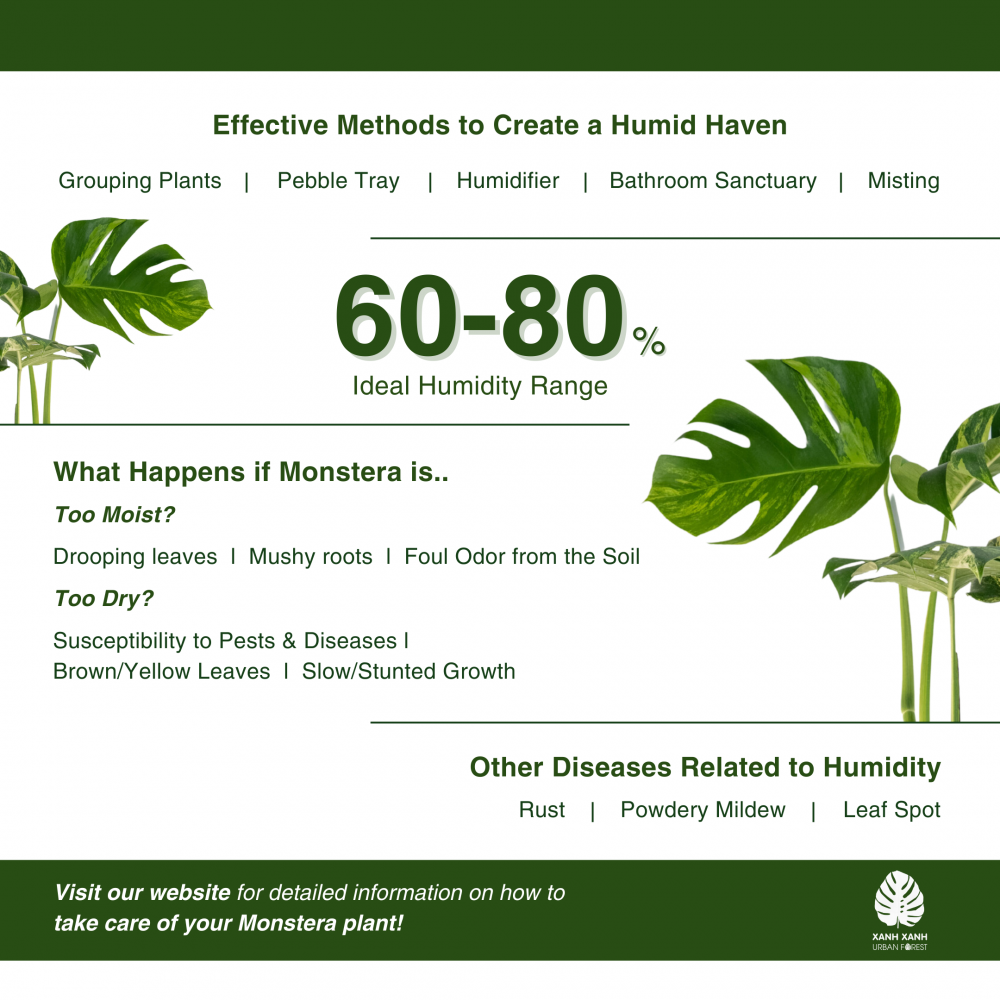

These numbers reflect comfortable, realistic home conditions that still support rare plants.
– 45–55% → Minimum workable range for most aroids
– 55–65% → Where velvet aroids thrive
– 65–75% → Excellent for juvenile Alocasia, Jewel Alocasia, and Anthurium
– 75%+ → Only needed in propagation boxes or for ultra-sensitive species
Humidity scaffolding focuses on achieving your plant’s range, not the highest possible number.
Step 1: Build a Stable Ambient Environment
Ambient humidity is the foundation of your scaffolding. Even if you add micro-environments later, your plant will suffer if your room stays too dry.
How to stabilise ambient humidity
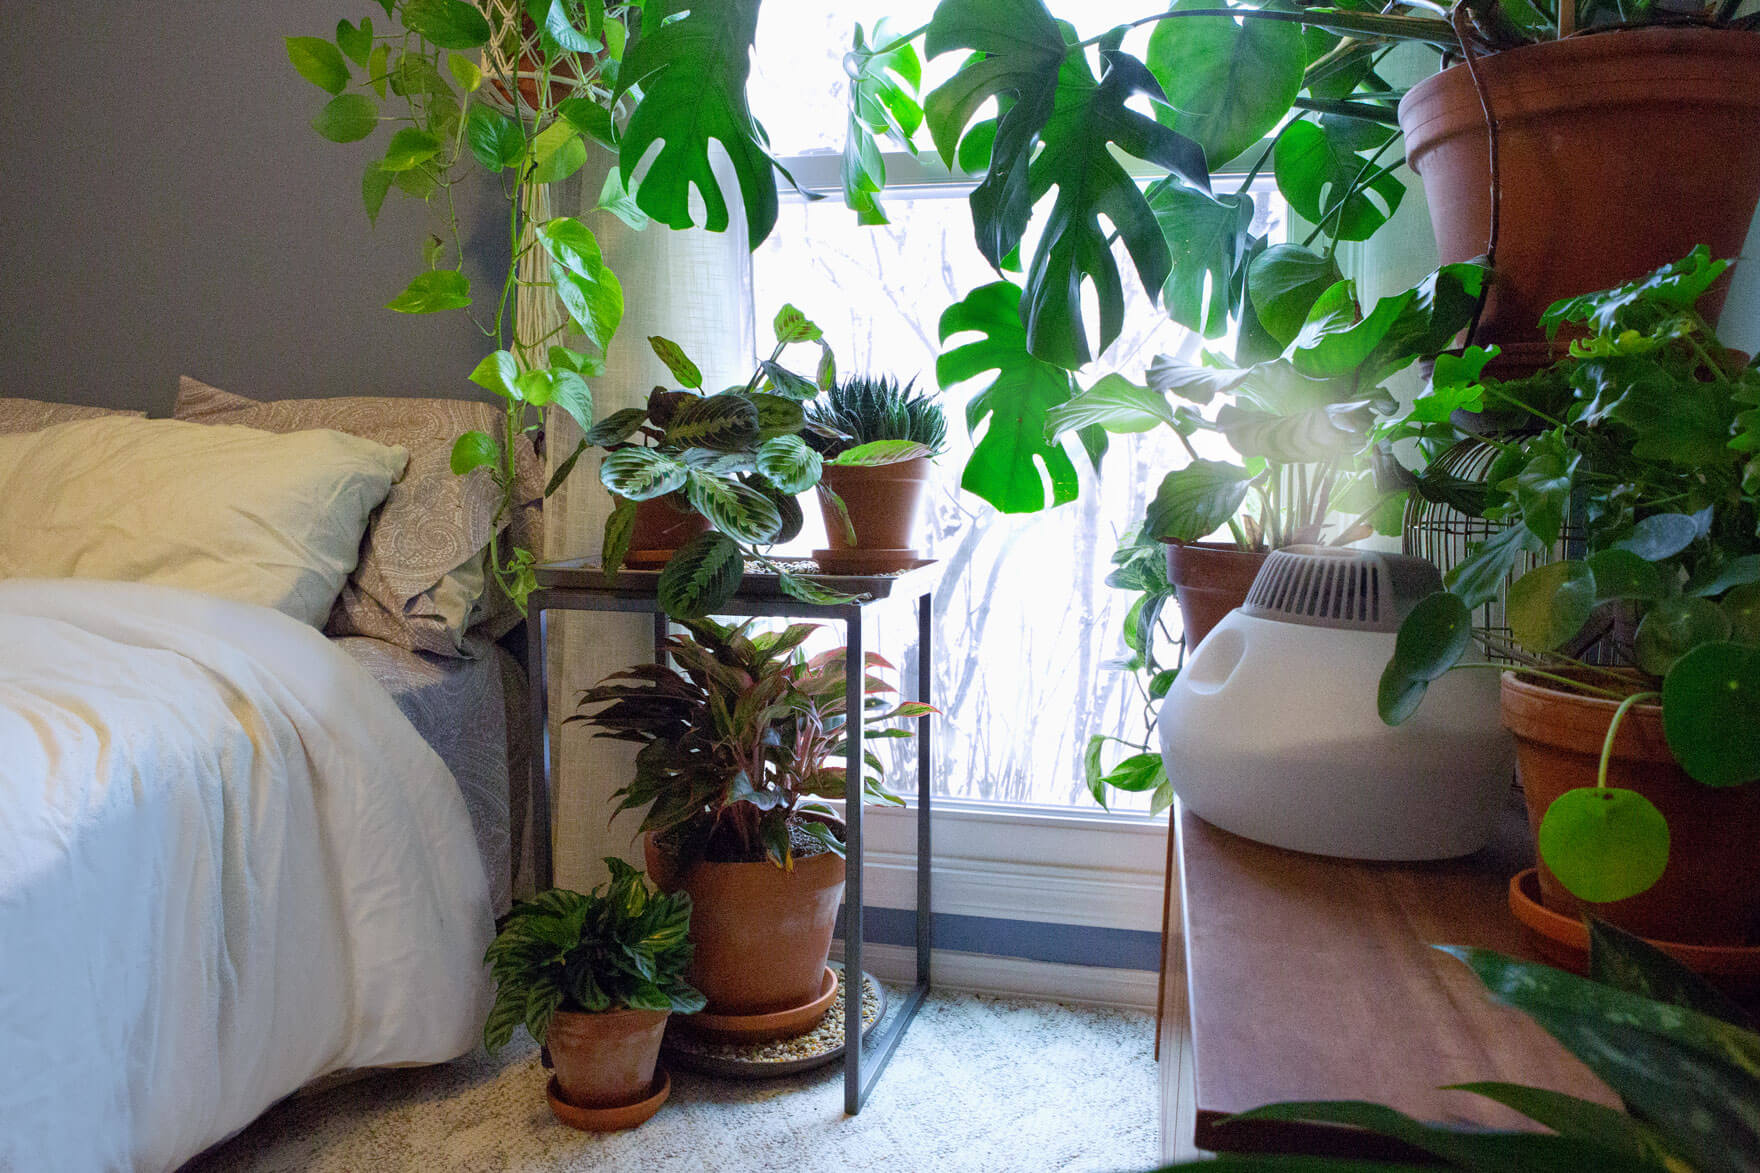
– Group plants together to create a natural humidity pocket
– Avoid heaters blowing directly at foliage
– Use textile surfaces (curtains, rugs) that hold moisture longer
– Move plants away from doorways or drafty windows
– Keep plants off cold floors that drop humidity around them
When you’ll know ambient humidity is too low
– New leaves come in small or deformed
– Edges crisp within days
– Spider mites appear more frequently
– Soil dries far too quickly for the plant to keep up
Ambient humidity is not about perfection — it’s about removing the major dips.
Step 2: Create Microclimates Around Your Plants
Microclimates are humidity “boosters” that surround individual plants without affecting your whole home.


Easy microclimate builders
– Clear storage bins used as humidity boxes
– Small cloches or domes for juvenile plants
– Fabric grow tents (optional, not required)
– Positioning plants in clusters
– Placing a small humidifier beside — not in front of — the plant
– Using moss poles that retain moisture
Why microclimates work
They mimic the “humid bubble” plants grow in naturally under larger leaves, forest debris, and sheltered canopies. Even if your room is 45%, your microclimate might be 60–70%.
Signs your microclimate is effective
– Leaves feel firm and hydrated
– New growth emerges smoothly
– Soil doesn’t dry out unevenly
– Pest pressure decreases
A well-built microclimate is often enough to eliminate the need for constant humidifier use.
Step 3: Use Passive Humidity Boosters (Zero-Tech Support)
Passive humidity boosters give stability without requiring you to constantly monitor devices.
Beginner-friendly passive methods
– Pebble trays under pots (not touching the pot base)
– Damp sphagnum near — not packed around — the plant
– Moss poles soaked weekly
– Ceramic pots that retain moisture longer
– Water-filled vessels placed near plant clusters
– A tray of LECA soaked lightly for slow evaporation


Passive boosters work best when combined with ambient humidity management. They won’t push your space to 70%, but they prevent drops that cause stress.
Step 4: Add Active Humidity (Humidifiers Done Right)
Humidifiers are useful, but only as part of the scaffolding — not the entire structure.
How to use a humidifier correctly
– Keep it 1–2 metres away from foliage
– Point mist into open air, not at plants
– Use filtered or distilled water to prevent mineral dust
– Run on lowest or medium settings for consistency
– Clean weekly to avoid bacterial growth
– Set to run in cycles (not continuously blasting)
When a humidifier is necessary
– During winter when indoor heating dries the air
– For velvet Alocasia (Maharani, Black Velvet, Melo, etc.)
– For growing seedlings, props, or freshly imported plants
– When your home sits consistently below 40% humidity
What not to do
– Do not place plants directly in front of the mist
– Do not run the humidifier 24/7
– Do not trap humid air without airflow
Over-humidity causes more problems than dryness if not managed properly.
Step 5: Balance Humidity With Airflow
Humidity scaffolding collapses without airflow. Moist air that stagnates leads to:
– Leaf spot
– Bacterial rot
– Fungal outbreaks
– Soft petioles
– Crown rot in species like Alocasia


Ideal airflow setup
– A small, quiet oscillating fan on low
– Air moving across the room, not directly onto leaves
– Consistent circulation during high-humidity periods
Why airflow is essential
Humidity softens the leaf cuticle. Without airflow to toughen it again, pathogens spread quickly.
How to tell you need more airflow
– Water droplets cling to leaves for hours
– Soil surface grows fuzzy mould
– Leaves feel overly soft
– New leaves develop brown patches
Airflow and humidity together create the “forest understory” effect.
Step 6: Soil as Part of the Humidity Scaffolding
Humidity isn’t only in the air — part of it lives in the substrate. A breathable, moisture-retentive mix regulates hydration far better than misting ever could.
Your soil should:
– Hold water evenly
– Drain excess quickly
– Support airflow around roots
– Prevent waterlogging
Beginner soil formula
– 40% aroid mix
– 30% perlite
– 20% coco coir
– 10% bark or pumice
How soil affects humidity
– Moist soil evaporates slowly, raising local humidity
– Chunky components keep roots oxygenated
– Roots use water more efficiently, reducing stress
If your humidity scaffolding is perfect but your soil stays muddy, your plant will still decline.
Step 7: Seasonal Adjustments (Humidity Changes Year-Round)


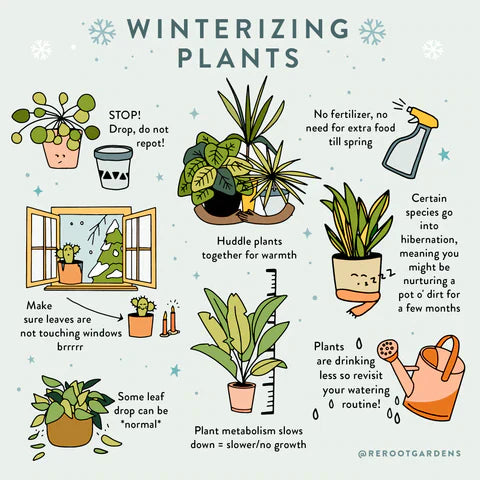
Humidity shifts naturally with the seasons. Your scaffolding should adapt rather than resist.
Summer
– Natural humidity often rises
– You may not need humidifiers
– Increase airflow to avoid rot
– Watering frequency naturally increases
Winter
– Indoor heating dries the air to 30–35%
– Humidifier use becomes essential
– Soil dries slower — watering must adjust
– Microclimates become crucial for tender species
Spring & Autumn
– Transitional periods where humidity fluctuates
– Monitor plants weekly
– Adjust fans and humidifiers as needed
Seasonal scaffolding prevents shock during these transitions.
Signs Your Humidity Scaffolding Is Working
When your humidity ecosystem is stable:
– Leaves unfurl cleanly without tearing
– Velvet species hold firmness and colour
– Soil hydration becomes predictable
– Pest pressure decreases noticeably
– New leaves size up consistently
– Plants stay hydrated even when you miss a watering day
Your space begins to feel like a living, breathing environment rather than a room full of plants.
Common Beginner Mistakes
“I put the humidifier right next to the plant.”
This creates leaf spot and fungal issues — always keep distance.
“I mist daily.”
Misting does not increase humidity meaningfully and encourages pests.
“I closed a humidity box with no airflow.”
This traps moisture and causes rot.
“My room is 30%, but I’m trying to push it to 80%.”
Humidification should be natural, not forced.
“I rely on only one method.”
Humidity scaffolding works because it stacks multiple supports.
Putting It All Together: The Scaffolding Summary
Your humidity scaffolding should include:
– Ambient humidity stabilisation
– Microclimates for sensitive plants
– Passive humidity boosters
– A correctly positioned humidifier
– Reliable airflow
– Moisture-balanced soil
– Seasonal adjustments
When these layers support each other, humidity becomes effortless, predictable, and safe — and rare plants thrive as a result.
Collector Notes
Humidity scaffolding is the secret behind the healthiest collections you see online. It’s not the humidifier, the grow lights, or the expensive gadgets — it’s the system.
Once you build this foundation, your plants remain resilient through winter dips, summer spikes, transport stress, and environmental changes. And for velvet-leaf collectors, scaffolding is often the difference between faded leaves and truly museum-grade foliage.